Back
The Ultimate Lottie Files Guide for Framer
Nabeel
Founder @ SegmentUI
Looking to add stunning animations to your Framer site without the headache of heavy video files or low quality GIFs? This guide walks you through implementing Lottie animations in Framer, from basic setup to advanced triggers and some tips & tricks.
Introduction
What is Lottie?
Lottie is an animation format that converts After Effects animations into pure code. Unlike traditional formats like GIFs or videos, Lottie animations are rendered in real-time using vector graphics, making them extremely lightweight and scalable while maintaining quality across all devices. There are two types of Lottie formats:
JSON Lottie Files - The standard Lottie format that contains animation data in a text-based (JSON) format. It's widely supported and can be easily edited, but files can become large with complex animations
dotLottie Files - A newer, compressed format that bundles Lottie files and their resources into a single file. The main advantage is that is smaller, has better memory efficiency and is easier to share and implement
Why Use Lottie in Framer?
Smaller file sizes: Lottie files are significantly smaller than GIFs or videos
High quality at any size: Vector-based animations that stay sharp on all screens. You are not limited by video or picture quality like you are in videos and gifs.
Interactive control: Customize colors, speed, and behavior directly in Framer via the property controls
Better performance: Lighter load on browsers compared to traditional animation formats
Design flexibility: Easy to update and modify without recreating the animation. Lottie has inbuilt editor that helps you modify colours and animations easily.
Adding Lottie to Framer
Using Plugins
This is the easiest way to add Lottie to your project. Go to the marketplace, open the plugin in your file. Alternatively, you could search for "Lottie Files" from your project and open it directly. The plugin is great - it allows you to search Lotties easily without leaving Framer and change simple things like the background color & layer color

From LottieFiles.com
Another way to add a Lottie file is to go to lottiefiles.com, add an asset to your workspace, copy the url and add it to the Lottie component that you can drag and drop from Framer. The benefit of doing this is that it allows you a lot more freedom in customising the animations and assets with the Lottie editor as well as collaborating with other creators.

Customization
Creator In Lottie
One you add an animation in Lottie, you will see an option to open it in the Lottie creator. Lottie creator allows you to adjust duration, animation add custom shapes and edit everything in an Affects like interface along with some neat AI tools. Once you make the changes you want, you can export it by copying the asset link and pasting it in your Lottie component in Framer

In Framer
Using the property controls panel in Framer, you can fine-tune everything from basic playback to advanced rendering settings without touching code. If you combine theses controls with the components in Framer, you can make some amazing animations and interactions in Framer. We will cover how to do that in the next section. Some of the inbuilt settings are:

Source Type: Choose between URL or direct file upload
Autoplay: Toggle automatic playback when the page loads
Play Mode: Select animation direction and style
Forward: Standard playback
Reverse: Play animation backwards
Bounce: Play forward then reverse
Reverse-bounce: Play reverse then forward
Play on Hover: Trigger animation on mouse hover
Loop: Enable continuous playback
Speed: Adjust playback speed (0.5x to 10x)
Background: Set animation background color
Progress: Control animation progress (0-99%)
Device Pixel Ratio: Fine-tune rendering quality
Interactivity in Framer
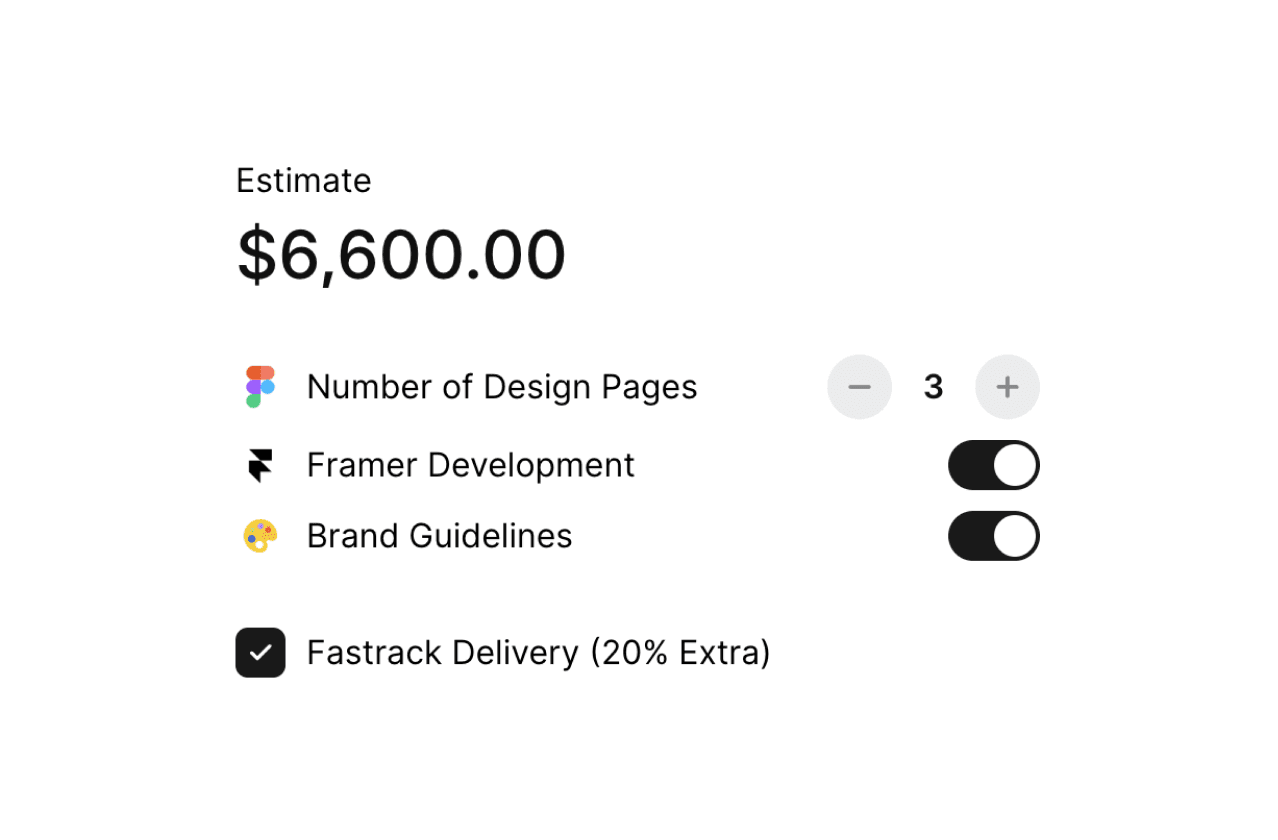
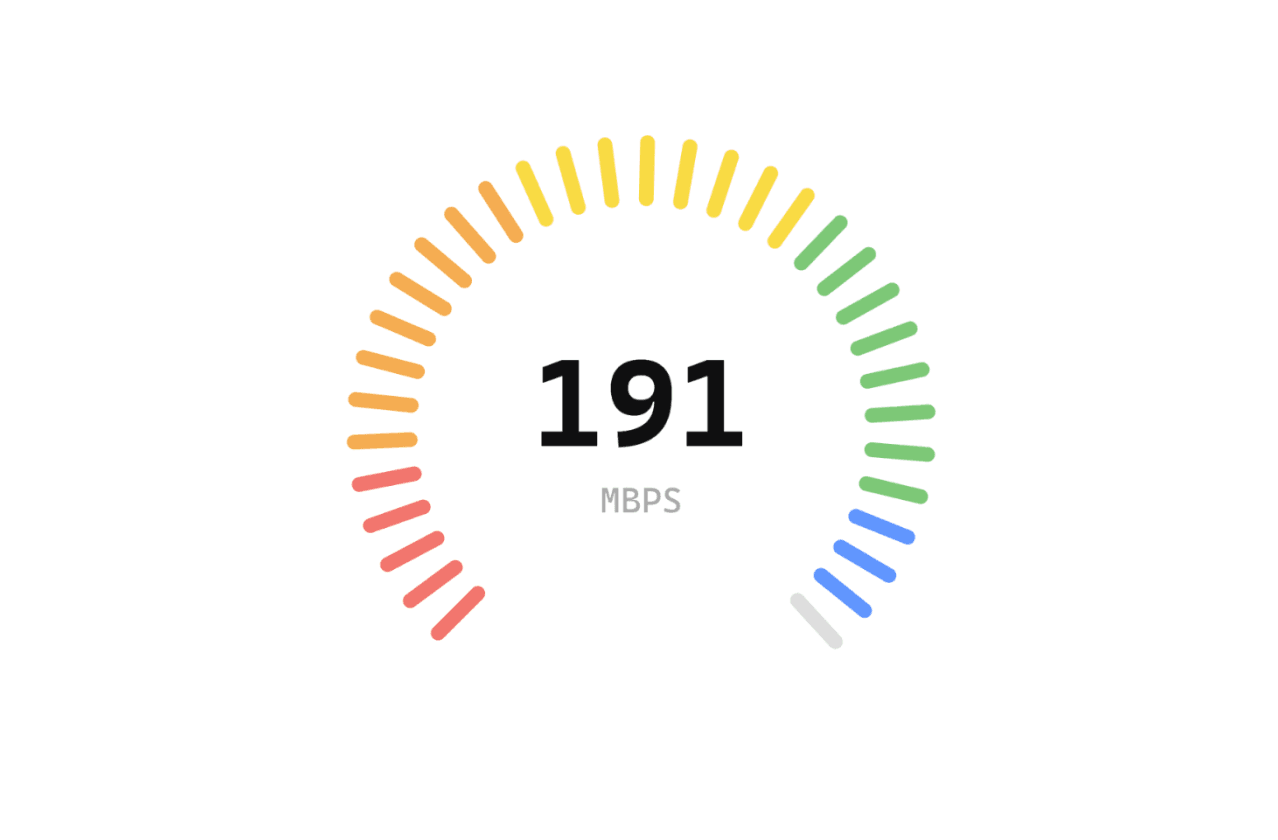
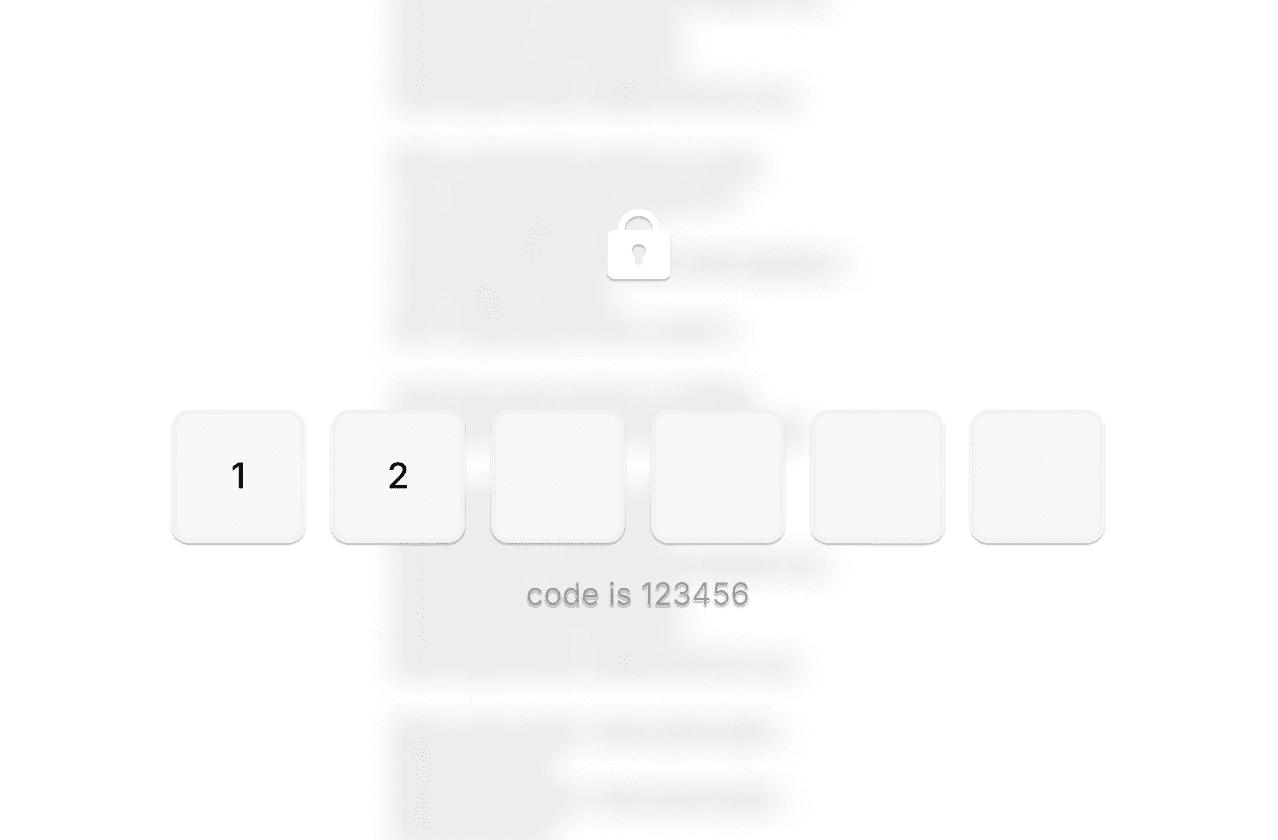
The real magic happens when you combine Framer component states like hover, click and pressed along with the playback controls of the Lottie components. Can you identify which of the above cards are using Lottie animations?
Here are some clever examples on how you could combine the two.
Confetti on Click Perfect for success states or achievement moments. Start with a confetti animation with autoplay turned off. Create a Click variant in Framer, and set the autoplay to "Yes". Add an on click interaction. When users click, they'll trigger a satisfying burst of confetti that plays once. Additionally, you can set the visibility to off for the inactive state.

Smooth Hover Preview Great for showcasing product features or steps. Set your animation Speed to 1x by default but slow it down to 0.5x on the hover state. This will slow down the animation on hover allowing users to see the product feature or step in detail.
Using Appear & Progress Create two variants, one for loading, one for success. In the loading variant, let the loader go in a loop, after a certain time period, you can show the success Lottie where the checkmark get completed. You can do this using two Lotties or using the progress option to simulate two different states. You can check out this particular asset here

More Resources
Learn more about the Lottie Plugin here
A guide from the Lottie team on how to add Lottie and DotLottie
Video walkthrough from Lottie on adding Lottie animations to Framer
Framer Tutorial: Add MOTION With Lottie Animations by Ryan Hayward


